
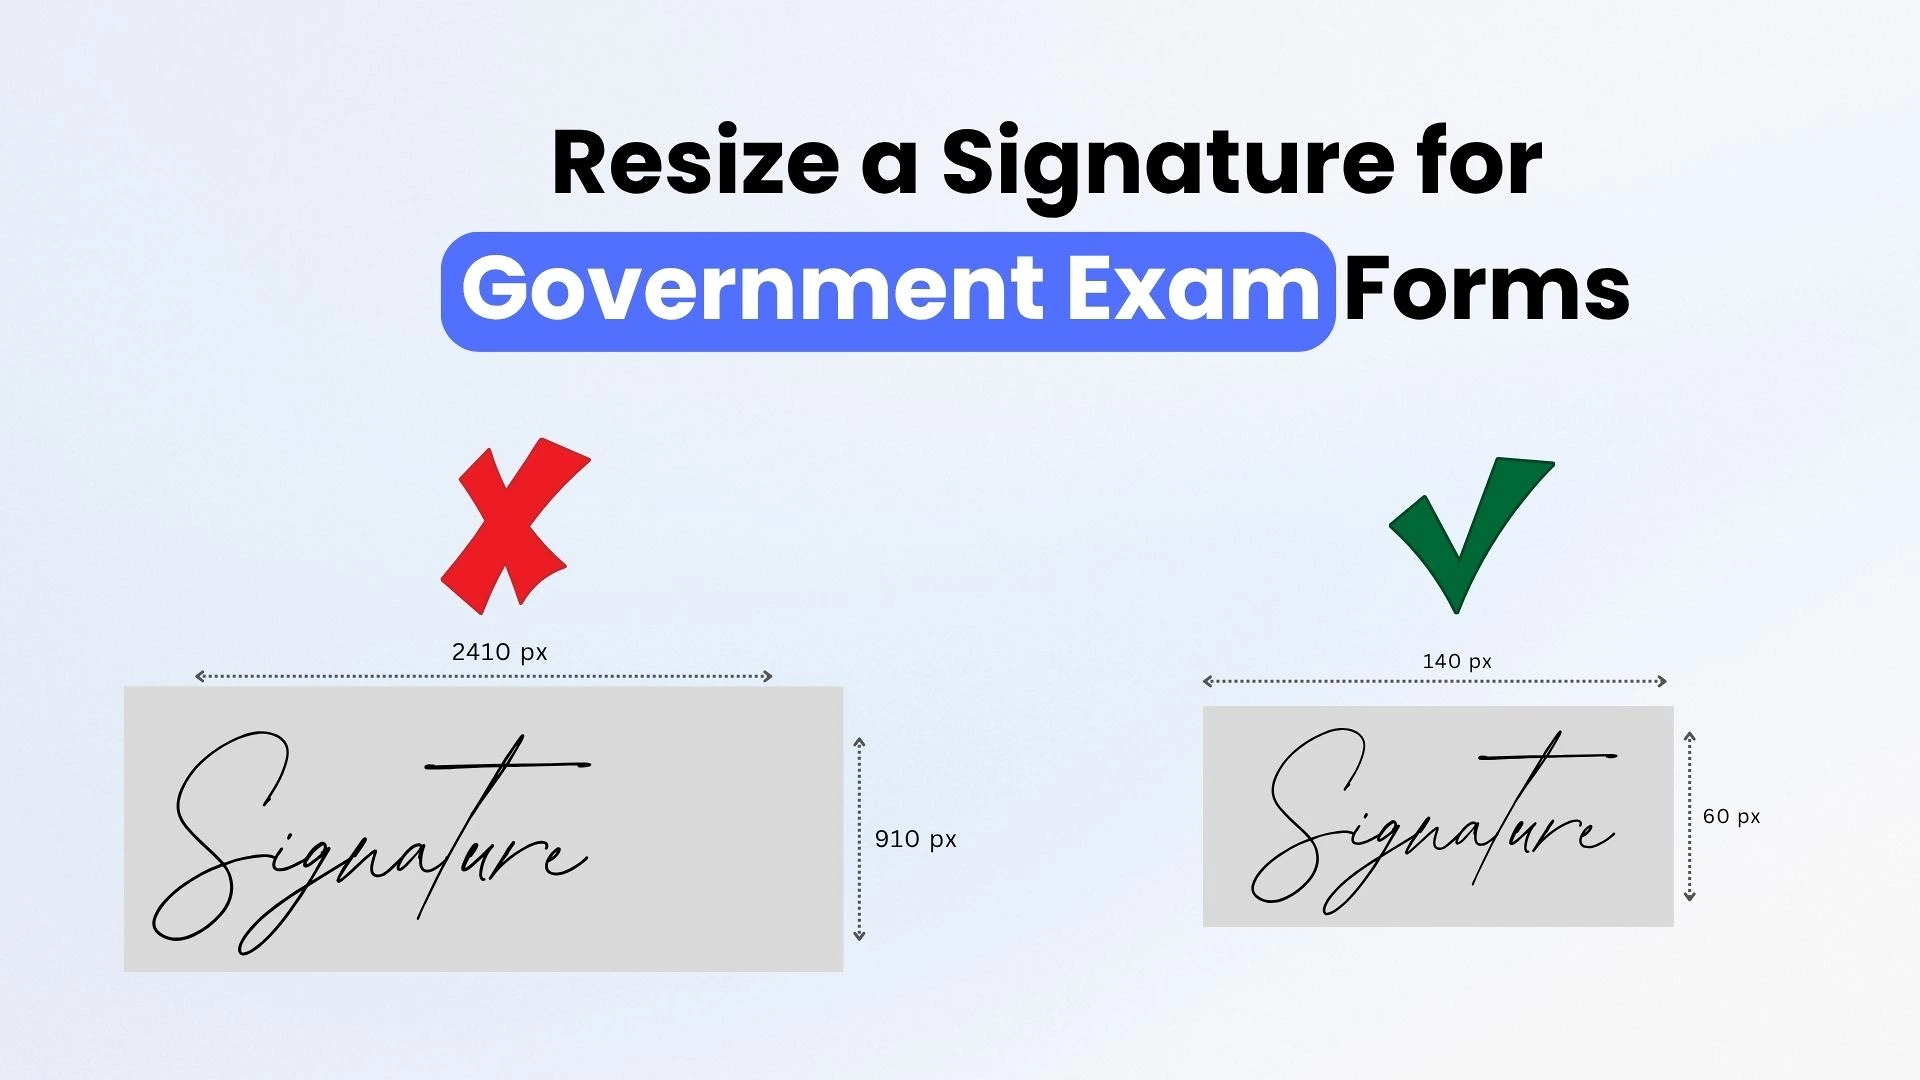
Here is a complete guide on how to resize a signature for government exam forms easily: When applying for a government exam, preparing your signature image may seem like a small task. However, if the image does not meet the application portal’s requirements, you may face upload errors or have to prepare the file again.
The tricky part is that every examination may have different requirements for signature file size, dimensions, and format. A signature that works for one application may not be suitable for another.
In this guide, you’ll learn how to prepare a clear signature image, resize it to the required dimensions, compress it to a specified KB limit, and check it before uploading it to an online government exam form.
Check the Signature Requirements Before Resizing
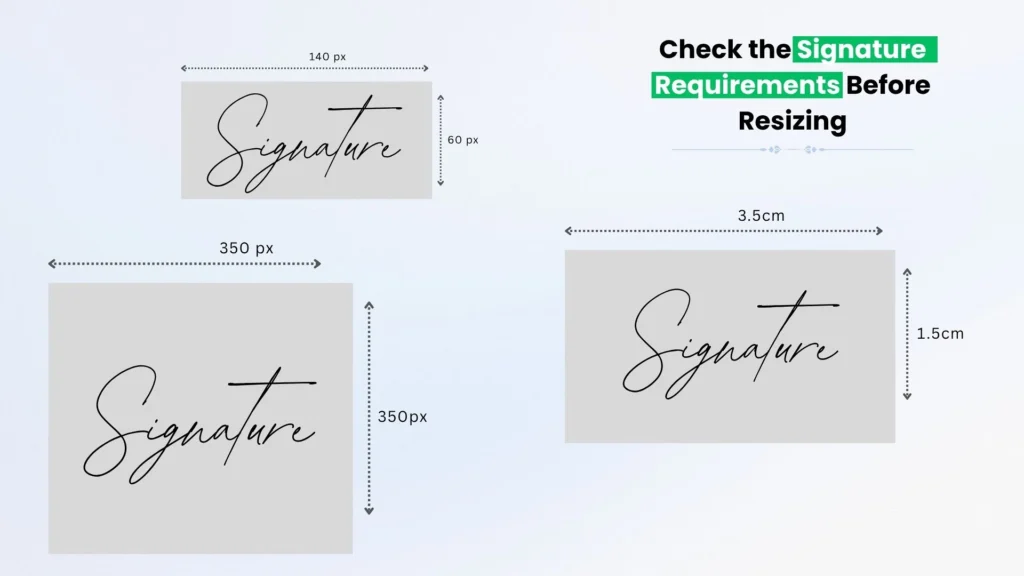
Before editing your signature, open the official notification or the instructions on the examination’s application portal. Look for these four details:
- File size: The minimum and maximum size allowed, such as 10–20 KB or 20–300 KB.
- Image dimensions: The required width and height in pixels, or physical dimensions with a specified resolution.
- File format: Whether the portal accepts JPG, JPEG, PNG, or another format.
- Signature quality: Whether the signature must be clear, horizontal, handwritten, or prepared in a particular way.
Do not assume that all government exams follow the same specifications.
For example, the SSC Constable (GD) 2026 notification specifies a JPEG/JPG signature file of 10–20 KB, with dimensions of approximately 6 cm × 2 cm at 300 DPI. It also warns against blurred or miniature signatures.
The UPSC online application FAQ, on the other hand, gives a different set of image requirements, including a 20–300 KB file-size range and specified pixel dimensions.
These examples demonstrate why you should always follow the instructions for your particular examination rather than copying specifications from another exam.
Official references:
How to Prepare a Clear Signature Image
Before you resize a signature, make sure the original image is suitable for an online application.
Follow these steps:
Step 1: Sign on plain white paper: Use a clean sheet of white paper and a dark ink pen, preferably black if the examination instructions recommend it. Sign naturally and keep the signature within a reasonable area.
Step 2: Scan or photograph the signature: A scanner generally produces a more consistent image. If you use a mobile phone, place the paper on a flat surface and take the photograph in good lighting. Avoid shadows, reflections, uneven lighting, and camera movement. These can make the signature difficult to read.
Step 3: Crop unnecessary background: Remove excessive empty space around the signature while preserving the complete signature. Do not cut off the first or last stroke.
Step 4: Check the image before resizing: Zoom in and check that the signature is readable. If the original image is blurry, resizing or compressing it will not restore the missing detail.
If the original is too poor to read, prepare a better scan or photograph before continuing.
How to Resize a Signature for an Online Government Exam Form
Once your signature image is ready, you can adjust its dimensions and file size.
Step 1: Open the signature image.
Open the scanned or photographed image in an image editor or an online image-resizing tool.
If you prefer to work in your browser, you can use imgresizer.io to resize an image. Check the available settings and select the options that match your application’s requirements.
Step 2: Set the required dimensions.
Check whether the examination specifies dimensions in pixels or physical measurements such as centimeters and DPI. For pixel-based requirements, enter the specified width and height if the tool supports them.
For example, if the instructions require a signature image of 300 × 100 pixels, use those dimensions only if they match your examination’s actual requirements.
Do not use 300 × 100 pixels as a universal signature size. It is merely an illustration of how pixel dimensions work.
If the notification specifies centimeters and DPI, make sure you understand both requirements before resizing. Pixel dimensions and physical print dimensions are related through resolution; they are not interchangeable numbers.
Step 3: Maintain the correct proportions
A signature is usually wider than it is tall. If you stretch it to fit arbitrary dimensions, it may look distorted.
Crop excess white space first, then resize the image to the required dimensions. Preserve the original proportions whenever possible.
If the required aspect ratio differs from your original signature, adjust the crop or prepare the image again rather than stretching the signature unnaturally.
Step 4: Choose the correct file format.
Save the image in the format accepted by the examination portal.
JPG and JPEG are commonly used for signature uploads. PNG may be accepted by some portals, but you should not assume it is allowed.
Changing the filename extension from .png to .jpg does not actually convert the image. Use an editor’s export or save-as option to create a genuine file in the required format.
Step 5: Reduce the file size if necessary
After setting the dimensions, check the resulting file size.
If the file exceeds the allowed limit, use an appropriate compression setting and save it again. Some image-resizing tools provide a target file-size option, while others let you adjust image quality.
If you need to compress a signature to 20 KB, remember that this target is suitable only when the examination permits it. A file that is smaller than the required minimum can be rejected just as a file that exceeds the maximum can.
After compression, reopen the saved image and confirm that the signature is still clear.
How to Compress a Signature to 20 KB Without Losing Clarity
A common problem is reducing a signature image to a specific KB limit without making the writing difficult to read.
Searches such as “compress signature to 20KB” and “signature compressor for SSC CGL” reflect this practical need. However, the correct target depends on the application instructions.
Here is a sensible approach:
- Crop first. Remove unnecessary white space because it can increase the amount of image data that needs to be stored.
- Use suitable dimensions. Avoid keeping a much larger image than the application requires.
- Choose JPEG when permitted. JPEG compression can reduce file size, although aggressive compression may introduce visible artifacts.
- Adjust compression gradually. If the file is still too large, reduce the quality setting in small steps rather than immediately choosing the lowest quality.
- Inspect the final image. Check the signature at normal viewing size and zoom in to look for broken strokes, smudging, or excessive blur.
There is no single compression percentage that will always produce a 20 KB file. The result depends on the original image, its dimensions, the file format, and the compression settings.
If a signature becomes unreadable before it reaches the required file size, go back to the original image and review its crop, dimensions, and format. Do not keep lowering the quality until the signature loses its essential details.
Also, never try to increase a file’s size merely to meet a minimum requirement by adding meaningless image data. Use an appropriate format and settings while keeping the signature clear.
Common Signature Upload Errors and How to Fix Them
The signature image is larger than the allowed KB limit.
The image may have excessive dimensions or insufficient compression. Check the dimensions first, then adjust the compression settings. Confirm the file size after saving instead of relying on the settings alone.
The signature file is smaller than the minimum allowed size.
Some application portals specify both minimum and maximum file sizes. If your image falls below the minimum, review the dimensions and export settings. Re-exporting at a suitable quality level may produce an acceptable file without damaging the signature. Do not assume that a smaller file is always better.
The signature looks blurry after resizing.
This can happen when the original scan is poor, the image is enlarged too much, or compression is too aggressive. Start again with a clear original image. Crop it carefully, use appropriate dimensions, and avoid unnecessary compression.
The signature looks stretched or unusually thin.
This usually happens when the width and height are changed independently without preserving the correct proportions. Crop the image and resize it more carefully. If the application’s required proportions are different from your original, prepare a suitable crop rather than distorting the writing.
The portal does not accept the image format.
Check the allowed file extensions in the official instructions. If the portal requires JPG or JPEG, export the image in that format instead of simply renaming the file. Also check whether the saved file is genuinely an image rather than a document or an incorrectly renamed file.
The image meets the size limit but is still rejected.
File size is only one part of the requirements. The image may have incorrect dimensions, an unsupported format, poor readability, or another issue. Review the complete set of instructions and inspect the upload preview before submitting the application.
Final Checklist Before Uploading Your Signature
Before confirming your government exam application, check each of the following:
- The signature follows the instructions for the correct examination.
- The file size is within the permitted minimum and maximum.
- The image dimensions meet the specified requirements.
- The file format is supported by the application portal.
- The entire signature is visible and readable.
- The signature has not been stretched, cut off, or excessively compressed.
- The uploaded preview looks correct.
- You have retained the final image in case you need it again.
If the portal displays a preview, inspect it before confirming the upload. A successful upload does not necessarily mean that the image is visually suitable.
Frequently Asked Quesion
How do I resize a signature for SSC CGL?
First, check the signature specifications in the official SSC CGL notification or application instructions for the relevant recruitment cycle. Prepare a clear signature image, crop unnecessary background, adjust the dimensions, and compress the file only as needed to meet the stated file-size limit.
Do not automatically use the specifications from SSC GD or another examination, because requirements can differ.
How can I compress a signature to 20 KB?
Use an image editor or a suitable online image-resizing tool that supports the required format and compression settings. Crop unnecessary space, use appropriate dimensions and adjust compression gradually. Then check the final file size and confirm that the signature remains readable.
Only use a 20 KB target if it falls within your application’s permitted range.
What is the best format for a signature image?
JPG or JPEG is commonly accepted for scanned signature images, but the correct choice depends on the application portal. Always follow the specified format rather than assuming that every portal accepts the same file types.
Can I resize my signature without losing quality?
You can often reduce file size while keeping a signature readable, especially when the original image is clear and has unnecessary background space. However, resizing and compression can reduce image quality. If the signature becomes blurry, return to the original image and try more suitable dimensions or less aggressive compression.
Why is my signature rejected even though the file size is correct?
The image may have incorrect dimensions, an unsupported format, poor visibility or another problem specified by the application portal. Check every requirement and inspect the uploaded preview instead of checking only the KB value.
Final Advice
By rakeshsahani,
Preparing a signature image for a government exam is not just about making the file smaller. The image must satisfy the relevant size and dimension limits while keeping the signature clear and recognizable.
Start with a good original image, follow the official instructions for your examination, and verify the saved file before uploading it. A few minutes spent checking the final image can help you avoid unnecessary upload problems during the application process.
