
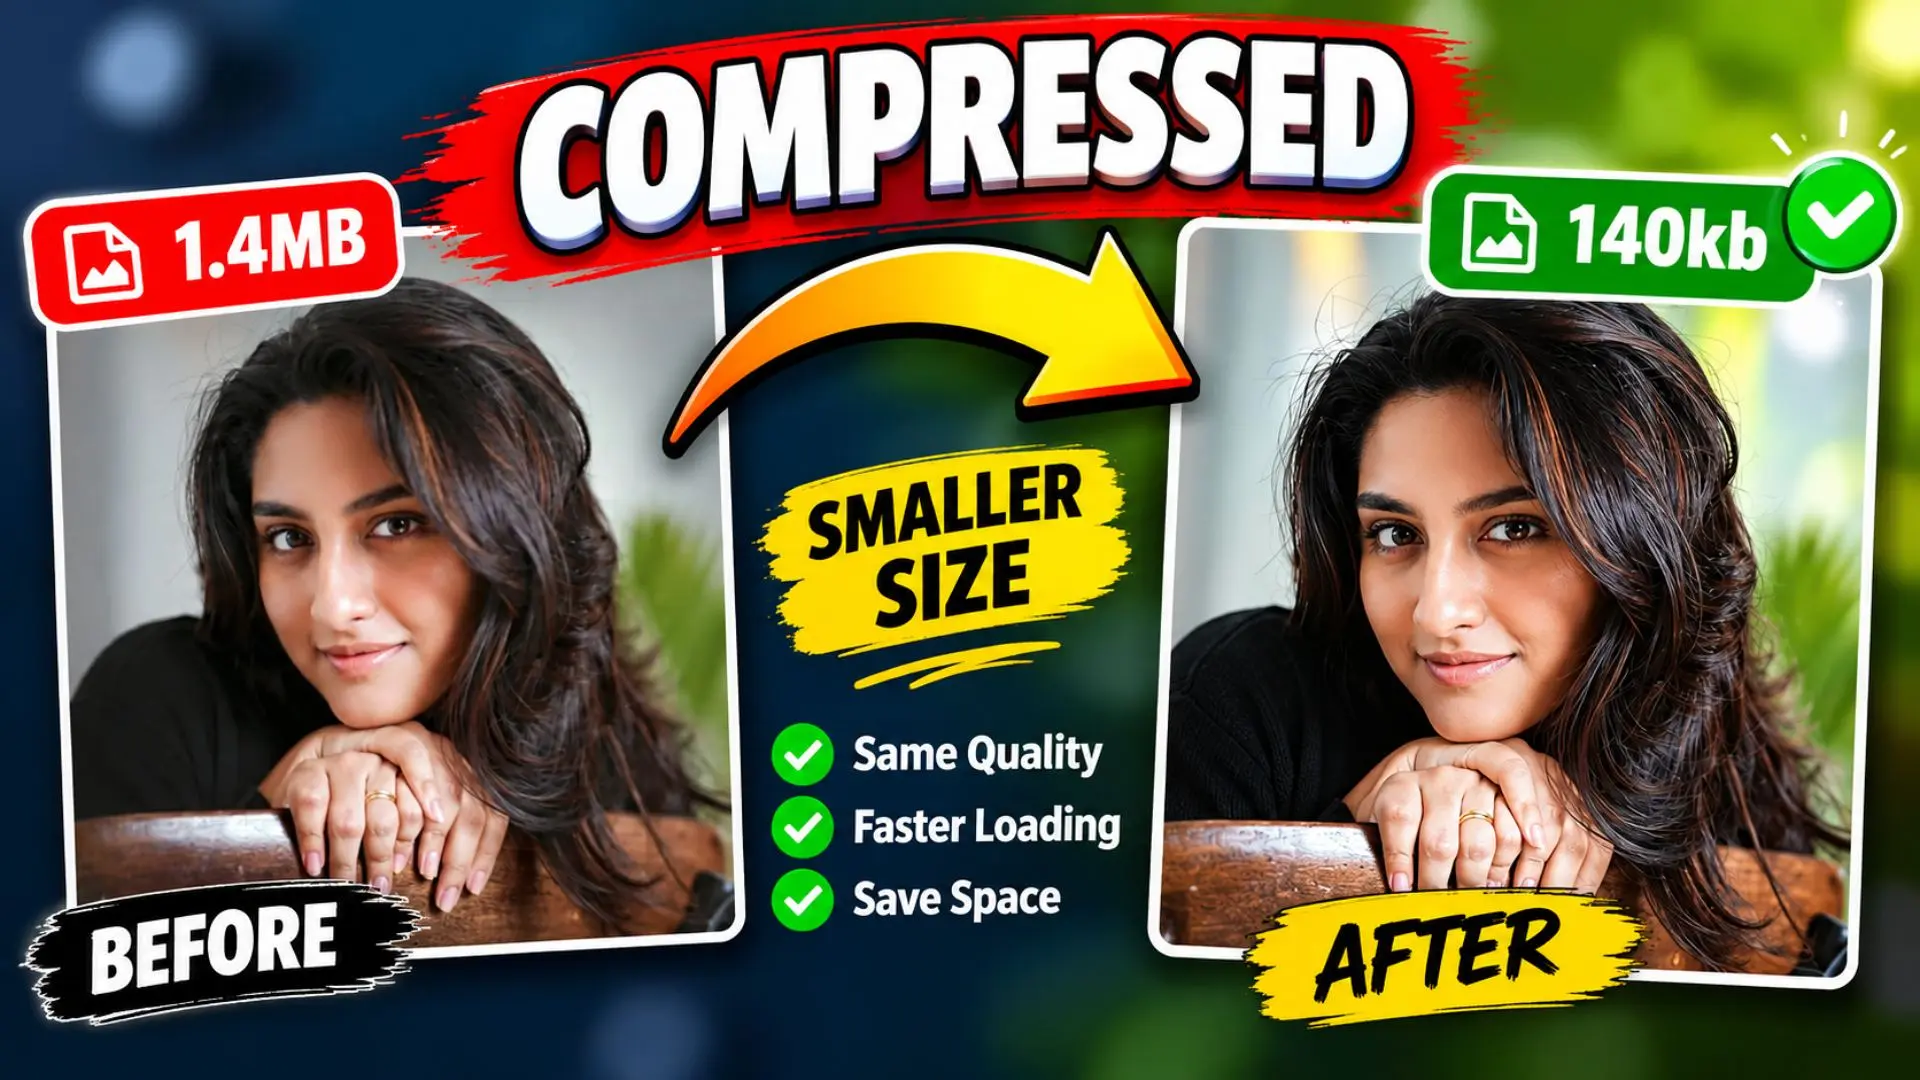
Every photographer, blogger, and website owner faces the same frustrating moment. You have a beautiful image ready to share with the world, but the file size is holding you back. It takes forever to upload. Your website loads slowly. Your email bounces back because the attachment is too large. So you compress the image, and suddenly it looks terrible. The colors are flat. The edges are blurry. The details you worked so hard to capture have vanished into a mess of digital artifacts.
This is the problem millions of people face every single day. The good news is that it does not have to be this way. You can compress image files dramatically while keeping them looking sharp, vibrant, and professional. The secret lies in understanding how compression actually works and applying a few proven techniques that most people overlook.
In this guide, I will walk you through everything you need to know about compressing images without sacrificing quality. Whether you are a professional photographer, a blogger, an ecommerce store owner, or someone who simply wants to share photos with family, these strategies will save you time, storage space, and frustration.
What Happens When You Compress an Image?
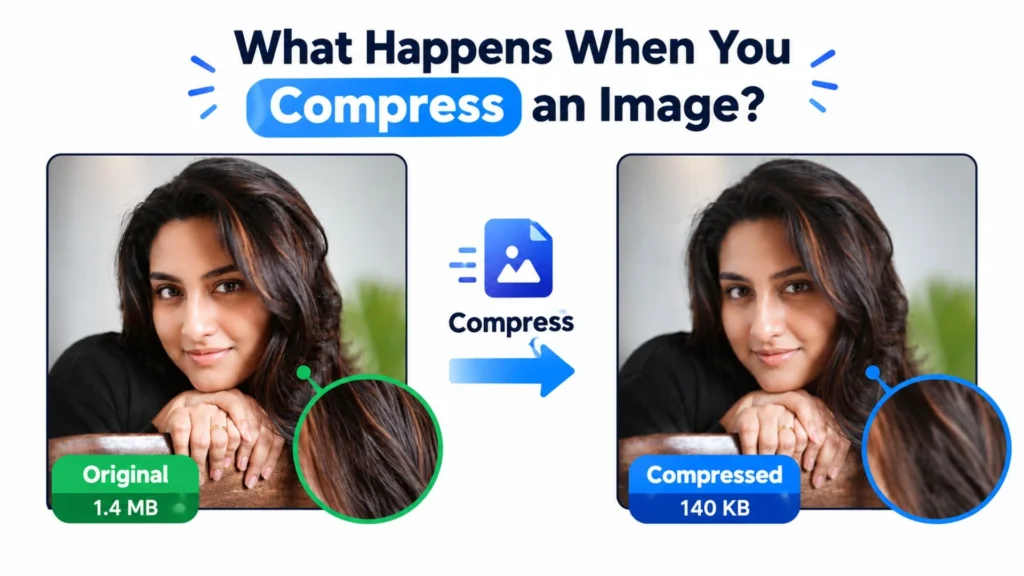
When you compress an image, you are essentially asking the software to throw away information it thinks you will not miss.
Here is the thing most guides gloss over. Not all compression works the same way. There are two fundamentally different approaches, and knowing which one you are using changes everything about the outcome.
Lossless compression works like a ZIP file. It finds repeated patterns in the data and stores them more efficiently. When the image is opened, every single pixel returns exactly as it was. No quality loss, period. The catch? The savings are modest, usually 3 to 4 times smaller at absolute best, and often much less.
Lossy compression is a different beast entirely. It analyzes the image, identifies details the human eye is unlikely to notice, and discards them permanently. That is why a JPEG can shrink to a fraction of its original size. It is not storing the full picture anymore. It is storing a very convincing approximation.
Most photos you encounter online have already been through lossy compression. Your phone camera likely applies it automatically. This matters because compressing an already compressed image is like squeezing a dry sponge. You get very little benefit and risk damaging what is left.
Does Compressing an Image Reduce Quality?
Not always, but it certainly can if you are careless.
The honest truth is that lossy compression does reduce quality in a technical sense. Data is lost. It cannot be recovered. But here is the crucial distinction. Lost data does not automatically mean visible quality reduction.
Research into the human visual system shows we are remarkably insensitive to certain kinds of information loss. We do not perceive subtle changes in high frequency detail nearly as well as we perceive changes in brightness or overall color shifts. JPEG compression exploits this by converting image data into a frequency domain and quantizing away the frequencies we are least likely to notice.
This is why quality settings in the 75 to 85 range can produce files that are visually indistinguishable from the original at normal viewing distances. You have technically lost data, but the loss is below your perception threshold.
Push too far, say quality 40 or below, and the artifacts become obvious. Blocky textures, smeared edges, and color banding that makes an image look like it has been through a photocopier three times.
The rule of thumb: Compress once at a reasonable setting and stop. Repeated compression compounds the damage. Each pass discards more data from an already degraded source.
Lossy vs Lossless: Which Compression Method Preserves Quality?
Choosing between lossy and lossless is not about which is better. It is about matching the method to the job.
| Aspect | Lossless | Lossy |
|---|---|---|
| Quality impact | Zero, every pixel preserved | Reduces quality, but can be visually imperceptible |
| Typical file reduction | 10 to 50 percent (sometimes 3 to 4 times in ideal cases) | 80 to 95 percent and beyond with careful settings |
| Best formats | PNG, WebP (lossless mode) | JPEG, WebP (lossy mode), HEIF |
| Ideal for | Logos, screenshots, line art, medical imaging | Photographs, web images, social media |
PNG is the classic lossless format. It uses the DEFLATE algorithm, similar to ZIP, to pack data without discarding anything. For images with sharp edges and limited colors such as screenshots, diagrams, and logos, PNG is perfect. For photographs, it is wasteful. A PNG photo will be enormous compared to a JPEG of similar visual quality.
JPEG is the workhorse of lossy compression. Its algorithm breaks the image into 8 by 8 pixel blocks, applies a mathematical transform called DCT, and quantizes the resulting coefficients. Higher quality settings keep more coefficients. Lower settings discard more. At quality 85, most photographs look identical to the original. At quality 50, you are starting to see artifacts.
WebP is the modern middle ground. It supports both lossless and lossy modes, and at equivalent visual quality, it typically produces files 25 to 35 percent smaller than JPEG. Browser support is now universal among modern browsers. If you are optimizing images for the web, WebP should be your default.
How to Compress Image Without Losing Quality
Here is where the practical advice begins.
First, understand the hierarchy of savings. The single biggest reduction in file size does not come from compression at all. It comes from resizing. A 4000 by 3000 photo displayed at 800 by 600 has 25 times more pixel data than the screen can actually use. Resizing to the display dimensions before compressing can eliminate 70 to 90 percent of the file size on its own.
The correct workflow:
- Resize first. Match the image dimensions to its actual display size. For web headers, 1200 to 1920 pixels wide is plenty. For thumbnails, 400 pixels or less. For email attachments, 1024 pixels is usually sufficient.
- Choose the right format. JPEG for photographs. PNG for graphics with sharp edges and transparency. WebP for the best balance of quality and size on the web.
- Compress at quality 75 to 85. This is the empirically tested sweet spot where file size drops significantly but artifacts remain invisible at normal viewing distances. For professional photography, you might push to 90. For quick social media posts, 70 is often acceptable.
Tools that do this well:
- Adobe Photoshop: File > Export > Save for Web (Legacy). The preview window shows exactly how the quality slider affects both file size and appearance.
- Image Resizer by IMGresizer: Offers client side (File never leaves users device, not upload to any third party server) tool with many premium features for free.
- Squoosh by Google: Free browser based tool with side by side comparison and advanced settings.
- Cloudinary or Filestack: URL based transformations that apply resize, format conversion, and compression in a single step.
- Command line tools:
cwebpfor WebP,jpegoptimfor JPEG,oxipngfor PNG.
Is It Better to Resize or Compress an Image?
Resize. Always resize first.
This is not a close call. Resizing changes the number of pixels. Compression changes how efficiently those pixels are stored. Removing unnecessary pixels produces vastly larger savings than any compression algorithm can achieve on a bloated image.
- Consider the numbers from a controlled test on a 319KB photograph:
- Compression alone: Reduced to 297KB. Savings: about 7 percent.
- Resizing to 400 pixels tall: Reduced to 33KB. Savings: about 90 percent.
- That is not a typo. Resizing achieved more than twelve times the savings of compression because it addressed the root problem. Too many pixels for the intended use.
- When to resize: Almost always, before any other optimization step. Match the image to its display context.
When compression alone is enough: When the image is already at the correct dimensions and you just need to shave off some weight. This is where compression shines, as a refinement, not a primary solution.
What Is the Difference Between Resizing and Cropping an Image?
These two are often confused, but they do fundamentally different things.
Resizing changes the dimensions of the entire image. Every pixel is still there in some form, either stretched, shrunk, or resampled to fit the new size. The composition remains intact. Only the scale changes.
Cropping removes parts of the image entirely. You are selecting a rectangular region and discarding everything outside it. The remaining pixels are not scaled. They are simply kept while the rest are thrown away. Cropping changes the composition, often to focus on a subject or remove distractions.
Think of it this way. Resizing is like adjusting the zoom on a projector. Cropping is like putting a frame around part of the projected image and cutting away the rest.
Practical implication: Crop first, then resize. Cropping works on the original pixel coordinates. You select the region you want to keep. Resizing then scales that cropped region to your target dimensions. If you resize first, you are working with fewer pixels and less flexibility for cropping precisely.
File size impact: Both reduce file size, but for different reasons. Cropping removes pixels entirely. Resizing reduces the pixel count by resampling. For file size reduction alone, resizing is more effective because it can shrink the entire image, not just trim edges.
How to Compress Image Without Losing Quality Using Adobe
Adobe tools give you fine grained control over the compression process.
In Photoshop:
The classic route is File > Export > Save for Web (Legacy). This opens a dialog with a live preview, file size estimate, and quality slider. Set your format to JPEG for photos, drag the quality slider until the preview looks acceptable, and check the file size. The 2 Up view lets you compare the original and compressed versions side by side.
For modern workflows, File > Export > Export As offers similar controls with a cleaner interface. You can choose format, quality, and dimensions in one panel.
A crucial Photoshop tip: Before exporting, use Image > Image Size to resize the image to its intended display dimensions. Set the resolution to 72 PPI for screen use. This single step often eliminates more file size than any compression setting.
In Lightroom:
Export presets let you define resize dimensions, quality, and format in one go. The Quality slider in the export dialog ranges from 0 to 100. For web export, 75 to 85 is standard. Lightroom also offers Limit File Size To which automatically adjusts quality to hit a target file size.
Adobe own guidance acknowledges the trade off. Lossy compression saves space but permanently discards data. Their recommendation aligns with best practice. Use the highest quality that meets your size requirements, and never compress more than necessary.
What Are the Disadvantages of Compressing a File?
Compression is not free. Here is what you are giving up.
Irretrievable data loss. Once lossy compression discards data, it is gone forever. You cannot uncompress a JPEG back to its original state. If you did not keep a backup, that quality is lost permanently.
Accumulated degradation. Every edit and save cycle applies compression again. Work on a JPEG through ten save cycles at quality 80, and the cumulative damage becomes visible even if each individual save seemed fine.
Reduced editing flexibility. Compressed images have less headroom for post processing. Shadows and highlights contain fewer gradations. Color adjustments can expose banding that was not visible before. For serious editing, work from RAW or high quality originals.
Artifacts at aggressive settings. Push compression too far and you will see blocky textures especially in smooth gradients, smeared edges around high contrast areas, and color banding in skies or skin tones. These artifacts are permanent. They are baked into the file.
The SEO myth. Some believe aggressive compression boosts SEO through faster page loads. Research suggests light compression has almost no effect on final rankings, while strong compression that degrades quality may have a negative impact. The best approach is to serve properly sized, reasonably compressed images. Not to sacrifice quality for minimal speed gains.
Which Compression Method Is Best for Images?
There is no single best method. Only the best method for your specific image and use case.
For photographs intended for the web: JPEG at quality 80 to 85, resized to display dimensions. It is universally supported, well understood, and produces excellent results at reasonable file sizes.
For modern web projects: WebP at quality 75 to 85. The 25 to 35 percent file size advantage over JPEG adds up quickly on image heavy sites, and browser support is now universal.
For graphics, logos, and screenshots: PNG. The lossless compression preserves sharp edges and flat colors without artifacts. File sizes are larger than JPEG, but the quality is perfect.
For cutting edge compression: AVIF offers even better compression than WebP at low bitrates, though encoding is slower and support is slightly less universal.
For archival: Keep the original. Compress copies for distribution, not the master file. If storage is a concern, use lossless compression on the original and accept the larger size.
How to Compress a Large Image Without Losing Its Quality
Large images, the 10MB and above monsters from modern cameras, need a strategic approach.
Step 1: Resize aggressively. A 6000 by 4000 photo displayed at 1200 pixels wide has 25 times more data than needed. Resizing to 1200 by 800 alone can reduce file size by 95 percent or more. This is not quality loss. It is eliminating pixels that would never be seen.
Step 2: Choose WebP or JPEG. For a resized photograph, WebP at quality 80 will typically be smaller than JPEG at equivalent visual quality. If compatibility is a concern, JPEG at 82 to 85 is nearly as good.
Step 3: Strip metadata. Camera EXIF data, GPS coordinates, and thumbnails add weight without contributing to the visible image. Most compression tools remove this automatically, but it is worth verifying.
Step 4: Use progressive encoding for JPEGs. Progressive JPEGs load in layers, showing a low resolution version first and refining as data arrives. The file size is similar, but perceived performance improves, especially on slow connections.
Step 5: Consider a CDN with automatic optimization. Services like Cloudinary and Filestack apply resize, format conversion, and compression through URL parameters, ensuring every image is optimized regardless of what was uploaded.
Conclusion: Getting the Best Results When You Compress Image Files
The path to compressing images without losing quality comes down to a few key principles.
Resize before you compress. This is the single most impactful step. Match dimensions to display size, and you will eliminate most of the file size before compression even enters the picture.
Use quality 75 to 85 for lossy compression. At this range, artifacts remain below the threshold of human perception at normal viewing distances. For professional work, 90 is safe. For casual sharing, 70 is often fine.
Choose the right format. JPEG for photos, PNG for graphics, WebP for modern web delivery. Each excels in its niche.
Compress once, carefully. Repeated compression compounds damage. Work from originals, save compressed copies for distribution.
Keep your originals. Storage is cheap. Regret is expensive. The compressed version is for sharing. The original is your insurance policy.
Done correctly, compression is nearly invisible. A photo resized to 1200 pixels wide, saved as WebP at quality 80, will look identical to the original on any screen and load in a fraction of the time. That is not magic. It is just understanding what the human eye actually needs and giving it exactly that, no more.
Frequently Asked Questions
Can I compress an image multiple times to make it even smaller?
No, and this is one of the biggest mistakes people make. Every time you save a JPEG, it applies compression again. The file might get slightly smaller on the second or third pass, but the quality damage compounds dramatically. An image compressed three times at quality 80 will look far worse than the same image compressed once at quality 80. If you need a smaller file, always go back to the original and compress once with stronger settings. Never stack compression on top of compression.
Why does my compressed image look fine on my phone but terrible on my laptop?
This comes down to pixel density and screen size. Phone screens are small and have very high pixel densities, which means individual pixels are packed so tightly that compression artifacts become invisible. When you view the same image on a larger laptop or desktop monitor, those artifacts get stretched across more physical screen space and become obvious. This is why you should always preview compressed images at their actual display size on the device where they will primarily be viewed. If an image is meant for desktop viewing, check it on a desktop monitor before publishing.
Does compressing images actually help with SEO?
This is a nuanced topic that gets oversimplified. Google has confirmed that page speed is a ranking factor, and images are often the largest files on a webpage. However, the SEO benefit comes from faster loading times, not from compression itself. A properly compressed image that loads quickly contributes to better user experience signals. But aggressive compression that makes images look bad can actually hurt your rankings because users bounce when content looks low quality. The goal is balance. Compress enough to load fast, but not so much that quality suffers.
What is the difference between image compression and image optimization?
These terms are often used interchangeably, but they mean different things. Compression specifically refers to reducing file size by encoding data more efficiently. Optimization is a broader concept that includes compression, but also covers choosing the right file format, resizing to appropriate dimensions, stripping unnecessary metadata, using responsive images that adapt to different screen sizes, and serving images through a content delivery network. Compression is one tool in the optimization toolbox. Optimization is the complete strategy.
Can compressed images be used for printing?
It depends on the level of compression and the print size. For small prints like wallet sized photos or images in a newsletter, moderate compression at quality 80 to 85 is usually fine. For large prints, especially anything bigger than A4 or letter size, compression artifacts become much more visible because the image is being enlarged. Professional printing typically requires uncompressed or minimally compressed files, often in TIFF or high quality JPEG format. If you plan to print an image at a large size, always work from the original uncompressed file.
Why do some compressed images have weird blocky patterns in smooth areas like skies?
This is called blocking artifact, and it is one of the most common signs of over compression in JPEG images. The JPEG algorithm divides the image into 8 by 8 pixel blocks and processes each block independently. In areas with smooth gradients like blue skies or soft skin tones, the transitions between blocks become visible as subtle squares or bands. This happens because the algorithm discards too much data in an attempt to save space. Once blocking artifacts appear, they cannot be removed. The only fix is to recompress from the original at a higher quality setting.
Is it safe to use free online image compression tools?
Most reputable free tools are safe, but you should exercise caution. Some free services upload your images to their servers, which means your files leave your device. For personal photos, this might not matter. For confidential business images, client work, or anything sensitive, it is risky. Look for tools that process images directly in your browser without uploading them anywhere. Squoosh by Google is a good example because it runs entirely in your browser. For professional work, desktop software or command line tools give you complete control and privacy.
How do I know if my image is already compressed?
There are a few ways to check. First, look at the file size relative to the dimensions. A 4000 by 3000 pixel image that is only 500KB has almost certainly been compressed heavily. Second, zoom in to 100 percent and look for artifacts around edges, in gradients, or in areas of fine detail. Third, check the file metadata. Many cameras and phones embed information about compression settings. If you are unsure, the safest approach is to assume the image has been compressed and work carefully to avoid making it worse.
What happens to image quality when I send photos through WhatsApp or Facebook Messenger?
Messaging apps apply aggressive compression to save bandwidth and storage. WhatsApp, for example, typically reduces images to around 800 pixels on the longest side and applies strong JPEG compression. The original quality is lost during transmission. If you need to share a high quality image through a messaging app, send it as a document or file attachment rather than as a photo. This bypasses the automatic compression and preserves the original file.
Can I recover quality from an image that was already compressed too much?
Unfortunately, no. Lossy compression is irreversible. Once data is discarded, it is gone. There is no algorithm that can perfectly reconstruct the original image from a heavily compressed version. Some tools claim to enhance or upscale compressed images using artificial intelligence, and these can sometimes improve appearance slightly, but they are essentially guessing at what the missing data might have been. They do not restore the original quality. The only real solution is to find the original uncompressed version if it still exists.
Can I Compress a JPEG Without Losing Quality?
Not truly, but visually, yes. JPEG is inherently lossy. Every time you save as JPEG, some data is discarded. The question is not whether quality loss occurs. It is whether you can make that loss imperceptible.
At quality 90 to 95, the difference between the original and the compressed version is often undetectable even under careful inspection. At 80 to 85, it is invisible at normal viewing sizes on typical screens. Below 70, artifacts become increasingly likely to show, especially in images with fine textures, gradients, or sharp contrast edges.
One critical caveat: If you are editing a JPEG, always work from the highest quality version you have. Every save introduces another round of compression. Three saves at quality 80 will look noticeably worse than one save at quality 80.
For true lossless JPEG compression: You cannot. JPEG compression is fundamentally lossy. If you need lossless, use PNG or WebP in lossless mode. If you need small files, accept that JPEG will discard something. Just make sure it discards something you will not miss.
